Posts

Showing posts with the label table

End grain side table
Image
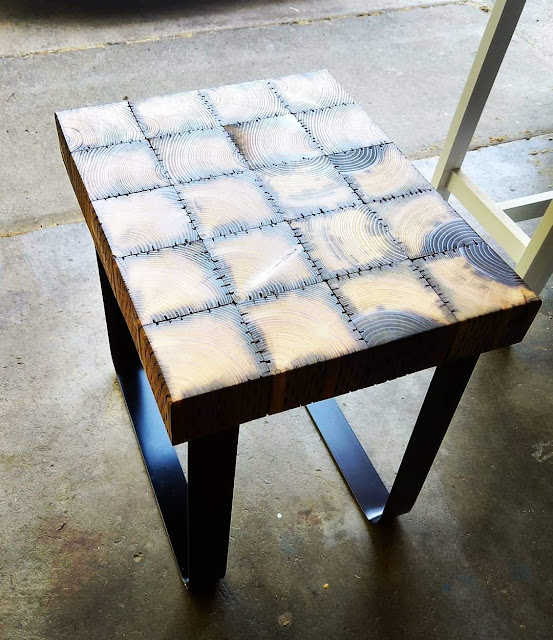
I had some scrap 4 x 4 pieces laying around, left over from the porch swing I built, so I decided to make a table top out of them. I built a jig to cut a bunch of ~3" pieces of 4 x 4. Once I got all of the pieces cut, I glued them up in a 4 x 5 rectangle. The pressure treated lumber was still damp to the touch, so I left them clamped for almost a week. I lined the pieces up pretty well, but there were definitely some ridges along the seams. I don't have a planer wide enough for this, so I leveled it out with a belt sander. Once I got it pretty level, I went over it with a 100-grit orbital sander, then a 150-grit 1/4 sheet sander, then hand sanded with 150-grit, 220-grit, and 400-grit. I made some stainless steel legs, and painted them black. I didn't take a picture of them, but they looked pretty similar to this set. I attached the legs, and oiled up the top with  Natural Danish Oil . For a table made of scraps, I think this turned out pretty cool. Th...
Epoxy River Coffee Table

Image
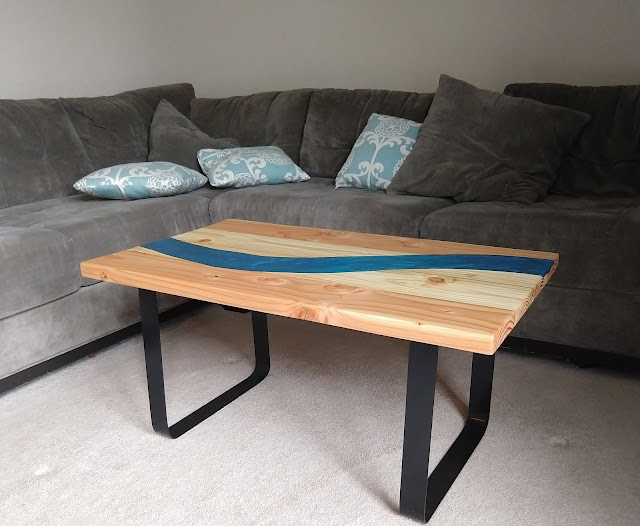
There are lots of people out there making some amazing epoxy river tables that sell for thousands of dollars. They generally use live edge slabs of specialty wood that can cost $1000+ alone, not to mention the tables sometimes contain $500+ of epoxy as well. I wanted to try to make a low-cost version of one of these amazing tables. I spent: $16.00  (2) 2" x 6" x 96" fir construction lumber $28  (2) 1/8" x 2" x 72" flat steel ~$17.50  32oz of a one-gallon kit 2-part epoxy ~$15  finish, paint, screws, etc. That brings me out to a total of roughly $76. First I used a biscuit joiner to align and glue (4) 4-foot lengths of the construction lumber together to form the table top.  I let the glue dry for a few days before taking it out of the clamps, and filling any remaining gaps with clear epoxy. I put some parchment paper down between the center support to prevent the epoxy from sticking. The center support board is to prevent the ta...