How to restore an old cutting board
A couple years ago my wife and I bought a beautiful handmade cutting board at an artisan shop in Grass Valley, CA. We were extremely careful with the cutting board, and used it more like a serving board. Unfortunately the first time we washed it with soapy water, the surface took on a rough, uneven feel. It was such a bummer that it seemed impossible to keep the board looking and feeling like when we first bought it. After that we started cutting on it, since it lost its original appeal.
Now that I've made quite a few cutting boards myself, I realize what had happened, and I can share a neat little trick to get your wooden cutting boards looking brand new again. Maybe even better than when you bought them ;-P
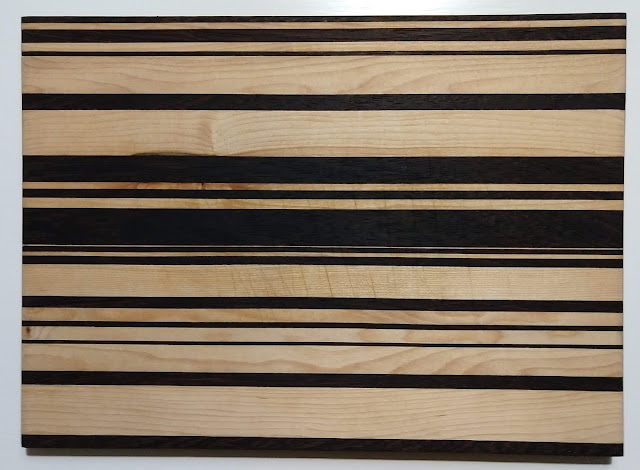
A lesser known step when making cutting boards is vital to getting a long-lasting finished product. After sanding to 180-220 grit, you need to get the entire board's surface damp. This causes the wood grain to raise, and the board will feel rough to the touch. Let that dry, and then hand sand it with 220 grit sand paper again until smooth. Follow up with 320 grit and 400 grit if you'd like, for an extremely smooth surface. Sanding the surface down will also smooth out any existing shallow knife marks! Here is the same cutting board after sanding down to 320 grit.
Finish up with an oil bath in food safe mineral oil, and let that soak in for at least 1 hour. An optional step here would be to lather on another coat of mineral oil, and let it soak in over night. The final step is to use a food safe wood conditioner and wax. I use these two products by Howard's, and I think they work great!
Check out this beautiful "new" cutting board! You should use a wood conditioner, like the one linked above, 1-2 times per month to keep your wooden cutting boards looking great. Apply the conditioner when the board is completely dry, and it's best to let it absorb the oils over night before use.


Comments
Post a Comment